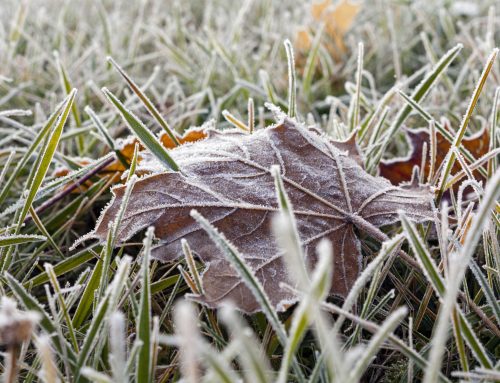
As we begin marching towards Spring there are a few necessary Spring preparations we need to make for our yards. From preparing your lawn mower to purchasing organic, or natural, pesticides and fertilizers following our recommendations will help you keep your yard ready and healthy for the coming months!

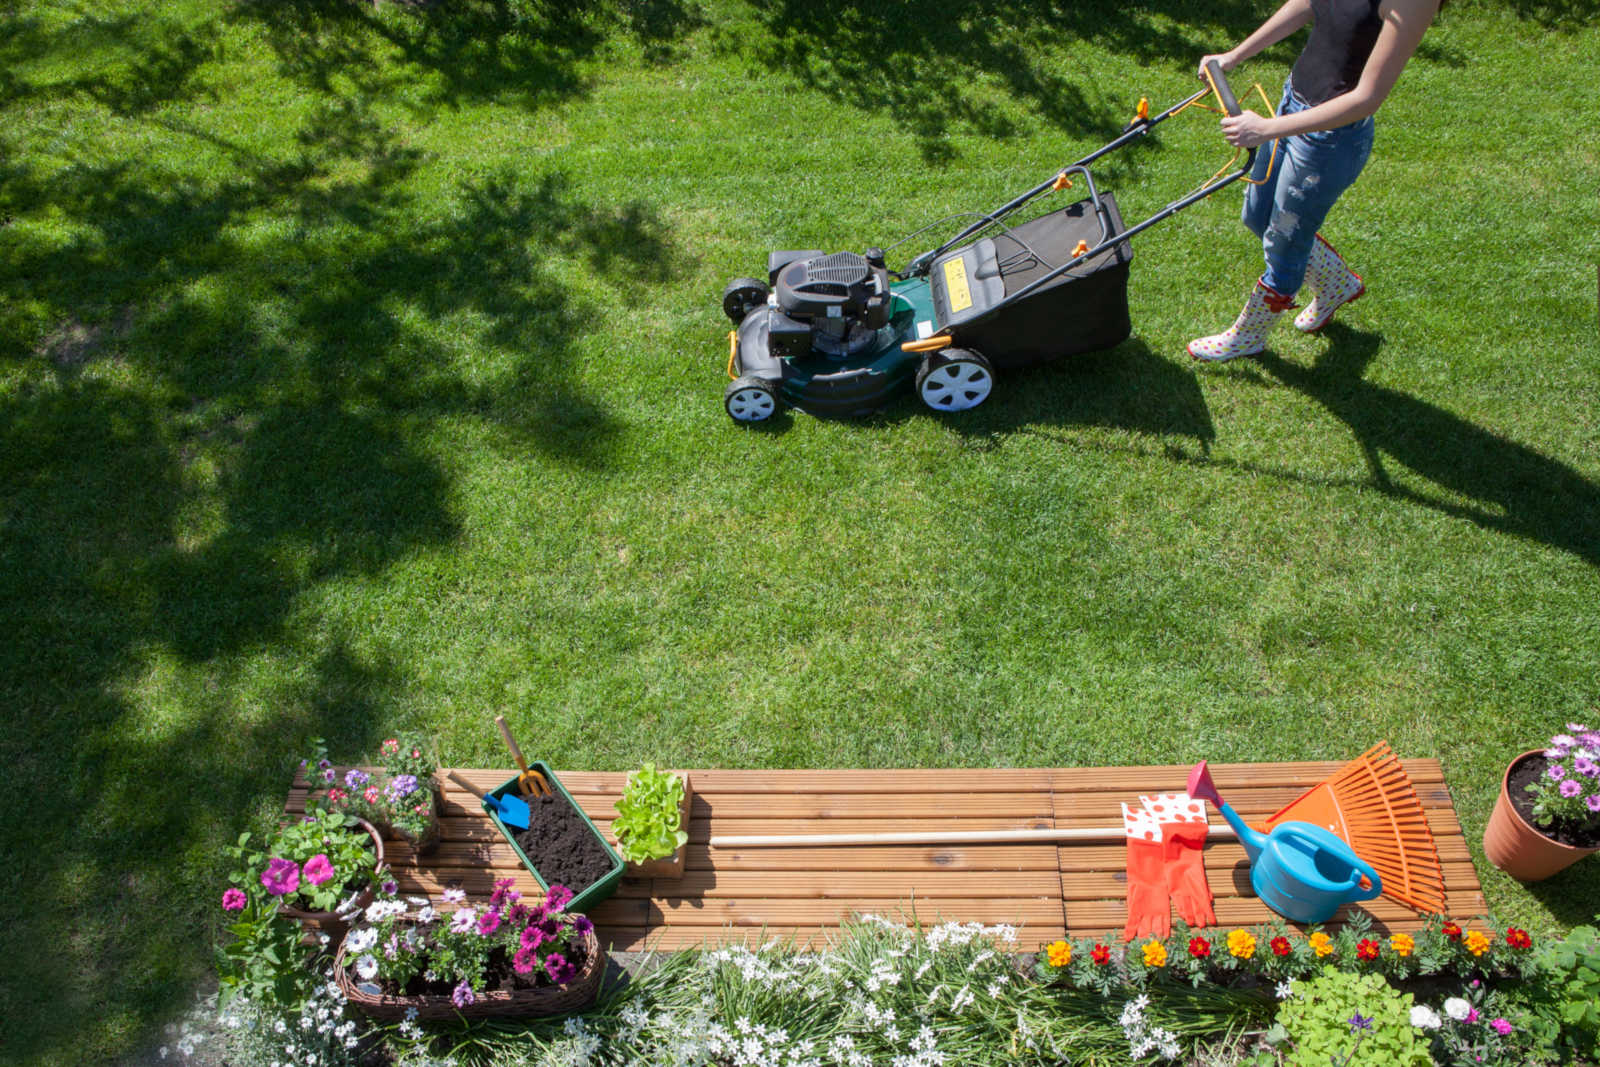
Lawn Mower Spring Preparations
With Spring around the corner there is no better time to prepare your lawn mower. After being left in the shed during the past season it’s bound to have gathered some dust.
The first thing you should always do to your lawn mower before any maintenance is completed is to remove the spark plug. This will ensure that you won’t be able to accidentally turn on your lawn mower during the maintenance process. Now that you’ve removed the spark plug make sure to take out the air filter and slot gacor hari ini either clean it if it’s a foam filter or replace it if it’s a paper one.
Now it’s time to change the oil. For this step you’ll first want to remove the oil drain plug located at the bottom of the engine and let the dirty oil empty out into a container. After the lawn mower is completely drained replace the plug and refill the oil with the type and quantity recommended by your owner’s manual.
Sharpen Your Lawn Mower’s Blades
After the oil has been changed you’re going to want to sharpen your lawn mower’s blades. To do this you’ll first need to remove the blades from the mower. Inspect each blade in order to ensure none of them have large nicks from cutting edges or hitting rocks/debris. If you notice any nicks you’ll need to replace the blade. Take the remaining good blades and begin sharpening them. Unsharpened blades can cause your lawn mower could end up shredding the tips of your grass causing your lawn to turn brown. With the blades off it’s now a good time to start cleaning your lawn mower from top to bottom.
The first thing you’ll want to do is using a strong spray of water to clean off the underside of the mower as best you can. After this inspect the lawn mower for any caked in grass. This grass may need to be removed with a putty knife. Now, with a rag or brush in hand, clean the top of the mower off to remove any debris, such as clippings or leaves. Make sure to get all crevices including, but not limited to, the engine and wheels. Now that your mower is all cleaned up you’re going to want to wax the deck. This is a preventative measure to keep grass and dirt from sticking to it.
Now that your lawn mower is nice and shiny you’re going to want to oil off all moving parts in order to keep it running better for longer. You should oil everything, such as the wheel bearings. Your owner’s manual should help you note all moving parts. It’s also important to clean off any runs of excess oil.

Sprinkler System Spring Preparations
It’s been a long Winter and it’s finally time to prepare your sprinkler system as part of your Spring preparations. However, before doing anything, you need to make sure your lawn agrees with your assessment. Take your shovel and, in an inconspicuous part of your lawn, dig about a foot deep into the soil. If you strike any frozen ground then that’s your yard telling you to wait a week or two before checking up on it to make sure it’s ready for some sprinkler action (make sure to rerun the dig test before doing anything to your sprinkler system). Then, if the ground is still frozen, starting your sprinkler system back up could result in broken water lines. If you absolutely have to water then you’re going to need to do it the old-fashioned way, with a hose.
Now that you know your lawn is ready for the sprinkler to come back to life you’re going to want to turn to your control panel. If your control panel has a battery backup system and the batteries in it are more than half a year old then you may want to replace them now. Review your current settings for times, dates and irrigation zones after you’ve replaced the batteries as necessary.
Cleaning Sprinkler Heads
Your next step is the longest and most tedious part of all, cleaning your sprinkler heads. Go to each sprinkler head and follow the following steps.
- Inspect each sprinkler head assembly for damage, if only the nozzle is damaged then you’re going to have to replace it with a new one. If there’s more extensive damage you may need to contact Conserva to help you repair the damaged sprinkler head.
- After you’re done with your inspection move on to cleaning any, and all, dirty nozzles. An old toothbrush should help get the job done. Any debris left inside of the nozzle can adversely affect the spray pattern which could result in some areas getting too little or too much water.
- Ensure your sprinkler valve is closed, unless it’s the one furthest from the main source. This valve needs to remain open and the sprinkler nozzles needs to be removed in order to let all the air out after turning on the water. If there are multiple branching systems on the same main line you’re going to want to do this step to each sprinkler at the end of every branch line.
Opening the Valves
This next step can be the most costly for rookies. You’re going to need to open the main water valve very slowly, open it too quick and you’ll send out all the water and air so fast that you’ll crack the pipes and break the valve. First make sure you open it until you hear the water begin to flow. Wait several minutes and then open it a few more degrees, after several more minutes repeat this part. Complete this slow process until the valve is 100% open. If you have multiple branches you’re going to want to start with the main line and then repeat this for every branching line while always running at the same slow-and-steady process. After all of the valves are open you’re going to want to go to each faraway sprinkler valve that was left open. Inspect the sprinkler at the end, while it’s head is removed. You should notice dirt and debris being flushed out. Watch over this sprinkler head until the water starts looking clear. Afterwards you’re going to want to close the valve and screw the nozzle back on.
Final Testing
Now that your sprinkler system is fully clean you’re ready for the final test. Ensuring that the irrigation zone is being properly watered. Go from zone to zone and verify that your spray patterns are getting water wherever necessary. Make sure to do this one zone at a time by turning them on individually via your control panel. During this process you may find your nozzles will need adjusting. Take a note of the adjustments you need to make before turning off the sprinkler system and making said adjustments. Then rerun the test to ensure everything works as expected. After you’ve tested each zone you can freely activate your irrigation system and run one last final walk-through inspection to confirm everything is working as expected.
If you need help with any of these steps, or if your life is too busy to complete this preparation you can always contact Conserva to help you with your sprinkler preparations.

Spring Preparations
With your lawn mower prepared and your sprinkler system running you may want to consider getting your yard in tip-top shape. Here are a few things we suggest doing for your yards Spring preparations:
- Cultivate annual flower beds to destroy winter weeds.
- Apply organic mulch to control weeds in beds. Landscape fabric barrier can reduce the amount of mulch but care should be taken to ensure proper water penetration to plants’ roots.
- Remove excessive thatch from warm season lawns. Dethatching, if necessary, should precede crabgrass control treatment.
- March is the second best time of the year to seed cool-season turfgrass; however, fall is the best time to plant.
- Cool-season lawns such as bluegrass, fescue, and ryegrass may be fertilized now with the first application of the season. Usually, four applications of fertilizer are required per year, in March, May, October, and November.
- Broadleaf weeds can easily be controlled in cool-season lawns at this time with post-emergent broadleaf herbicides.
- Begin mowing cool season grasses at 1 1/2 to 3 1/2 inches high.
- Chemical and physical control of galls (swellings) on stems and foliage of trees should begin now.
- Dormant oil can still be applied to control mites, galls, overwintering aphids, etc.
- The 1st generation of Nantucket Pine Tip Moth appears at this time. Begin pesticide applications in late-March based on pheromone catches.
- Anthracnose control on sycamore, maple, and oak should begin at bud swell.
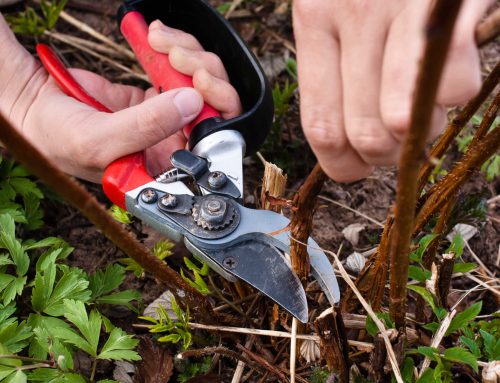
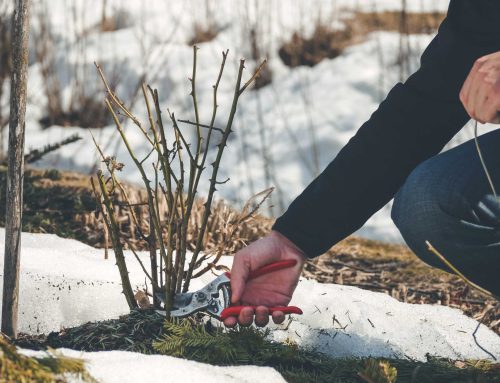
- Prune roses just before growth starts and begin a regular disease spray program as the foliage appears. Check with garden center personnel for roses that don’t require chemical applications.
- Divide and replant summer and fall blooming perennials. Mow or cut back old liriope and other ornamental grass foliage.
Need Help?
If you’re busy over the next couple of weeks and don’t have the time to take care of our recommendations then contact Conserva for all your sprinkler system needs and contact us on our contact us page or call us at (405) 531-9105 for help with your lawn mower or yard preparation and maintenance needs!